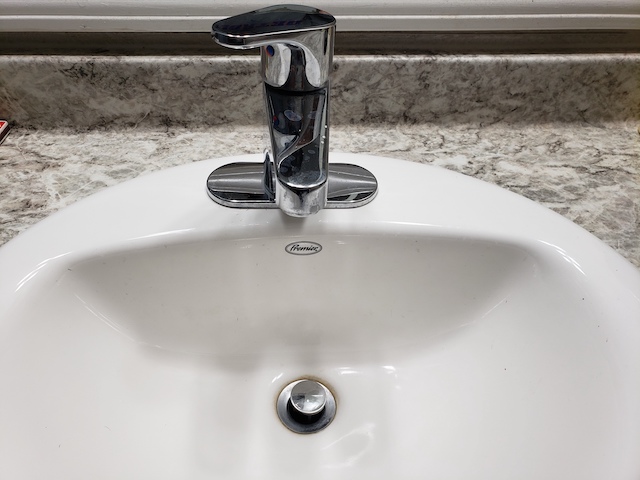
Imagine running late to work and having to hurry to brush your teeth (we’ve all been there). Grab the toothbrush, squeeze out some toothpaste, and turn on the water to wet the brush but now you hear the splash of water coming from under the sink. The bathroom sink drain is leaking around the threads and everything is soaked.
Why is the sink leaking, and better yet, how do I fix it? In this tutorial, we will use a process of elimination to help you answer both questions.
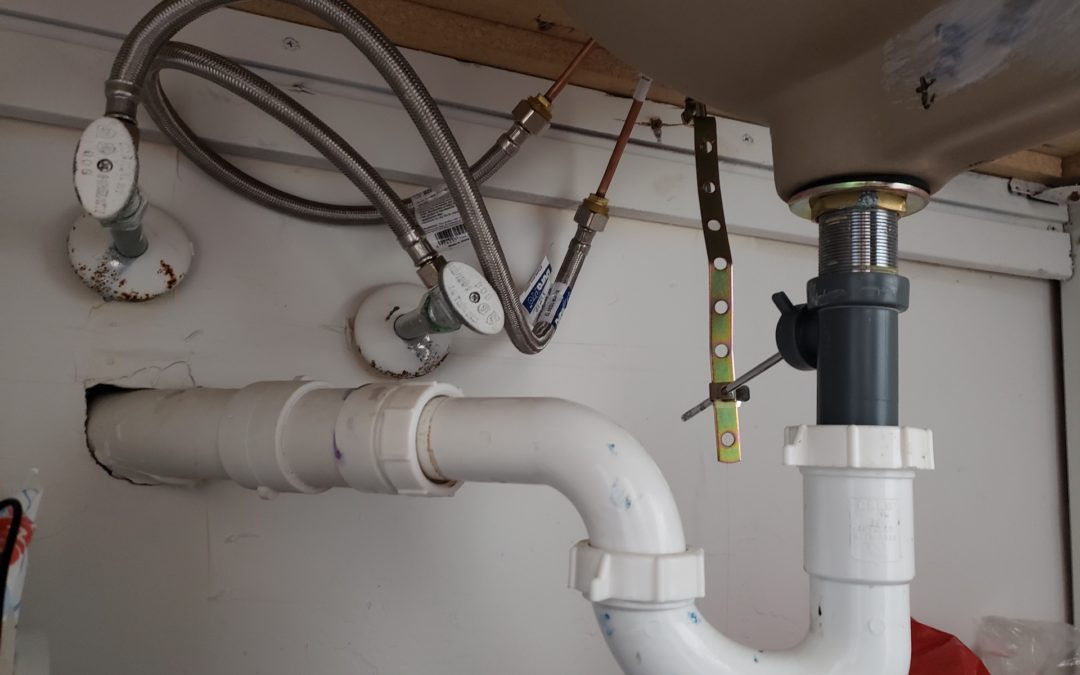
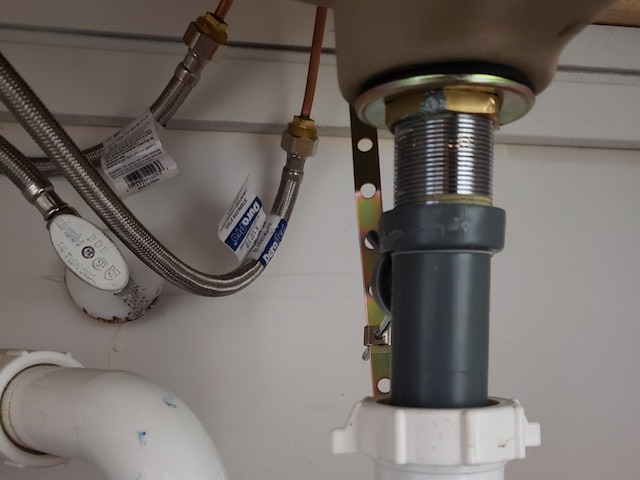
Step 1 – Check the Nut
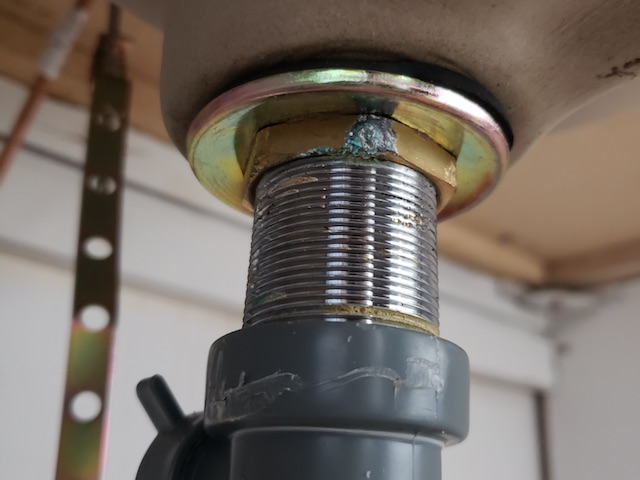
First thing you should do when your sink drain is leaking is to grab an adjustable wrench and take a look at the nut underneath the sink. Also known as a “Slip Nut” or a “Drain Nut,” this piece of hardware secures the sink to the drain.
Use your wrench to test the how tight the seal is. If the nut moves when you put the wrench then it needs to be tightened. Conversely, if the nut really won’t budge it’s possible the rubber gasket has been compromised and will need to be replaced.
Gradually tighten or release the pressure on the nut accordingly, run the water, and see if the problem persists. If this quick fix doesn’t work then it’s time to take apart the drain and look closer at the working parts.
PRO TIP: Turn off the hot and cold water supply and grab a bucket while you’re at it just in case.
Step 2 – Inspect Drain Components for Cracks, Warps & Malformations

Use the wrench to loosen the drain nut and begin taking everything apart. Once you have the drain fully disassembled lay out all the individual components in the order they came apart, from left to right. Also, if you don’t have great lighting in your bathroom you should grab a flashlight or use the light on your phone to help illuminate and inspect each part.
What you are looking for damage to the individual parts. Warped? Cracked? Twisted? If the answer to any of these questions is ‘Yes’ take that part to your local hardware store and find the piece to replace it. Components can break down due to a variety of reasons like overuse or trauma while others can actually be corroded by certain chemicals and cleaning products.
If you do not notice any physical damage to the parts then it’s time to break out a couple simple tools to help you seal your bathroom drain leak around the threads: plumber’s tape and plumber’s putty.
PRO TIP: Be diligent. A level head is the most useful tool of them all.
Step 3 – Plumber’s Tape & Plumber’s Putty
PLUMBER’S TAPE
Plumber’s tape is a handy tool that fits directly into the threads of a plumbing joint to create a nice, watertight seal.
To start, get a little bit of slack and carefully apply pressure to the tape and the valve. Now slowly begin to wrap while keeping it nice and tight. Do several revolutions around all threads as necessary. Once you feel good about the wrap job snap off the tape from the roll, clean up any stray tape strings, and you’re good to move on to the next step!
How to use PTFE tape – Ultimate Handyman DIY tips courtesy of Ultimate Handyman”
PLUMBER’S PUTTY
Plumber’s putty seals the top side of a sink drain by plugging the space where the porcelain and metal drain flange meet.
When using plumber’s putty, the first order of business is to make sure all surfaces are clean and dry. Next, take some putty and roll it back and forth in your hands until it looks like a worm. After that, take your putty cylinder and wrap it under the top of the drain piece and set it in the hole in the sink.
How to Use Plumbers Putty | Repair & Replace courtesy of AMRE Supply
Step 4 – Fix and Reassemble
Now that you have everything disassembled, you have an adjustable wrench, and you’ve got both plumber’s tape and plumber’s putty it’s time to go to work:
HOW TO REPAIR AND REINSTALL A SINK DRAIN (IN STEPS):
- Apply plumber’s tape to the threads of the drain union.
- Wrap a half-inch thick putty ring around the the top of the drain flange.
- Insert the drain back into the hole, making sure it’s centered.
- Tighten the gasket and nut under the sink.
- Remove any excess putty from around the drain.
- Turn the water to check for leaks.
Remember, there could be more than one thing that’s causing the sink drain to leak around the threads. From the actual threads on the nut or pipe to the pop-up sink assembly there are several points where a drain can begin to fall apart.
Simple leaks can be simple fixes, but what about other plumbing projects? Check out our Top 5 Residential Plumbing Services That You REALLY Shouldn’t DIY.
Step 5 – When to Call A Plumber

If you’ve followed the above steps and still can’t manage to get the drain to stop leaking then it’s time to call a professional plumbing technician. A plumber can easily diagnose the issue and let you know if your issue is just a matter of components or if the bathroom sink and drain need to be replaced entirely.
Fix-A-Leak Recap
You’ve done it. You’ve successfully used a wrench, plumber’s tape, and plumbers putty to fix your bathroom sink drain leaking around the threads. How’d it go for? Let us know in the comments section!
If you run into problems or need further assistance contact Premier Plumbing at one of our several Southeast Michigan locations and a plumbing pro will put an end your bathroom sink blues in no-time.
Premier Plumbing Sink Repair Hotline:
Location: White Lake, Michigan
Phone: (248) 363-5864
Location: Hartland, Michigan
Phone: (810) 632-7420
Location: Fowlerville, Michigan
Phone: (517) 223-4360
Email: [email protected]
Request a FREE bathroom sink repair quote with Premier Plumbing, Inc. online at premierplumbing-mi.com/get-a-plumbing-quote/